By Lindsey R. Peterson, Ph.D.
On a chilly winter morning in South Dakota, my husband and I were looking for something to pass the time when we stumbled across a series of short role-playing games created by Oliver Darkshire. We selected Battle of the Brontës and soon found ourselves rolling dice to see whether we—playing as Charlotte, Emily, and Anne—could produce and publish a masterpiece before our brother Branwell’s debauchery derailed our literary dreams. As Branwell repeatedly set fire to our home, drank too much, and stole our horses, we became fascinated by the Brontë family. We were hooked and wanted to learn more.
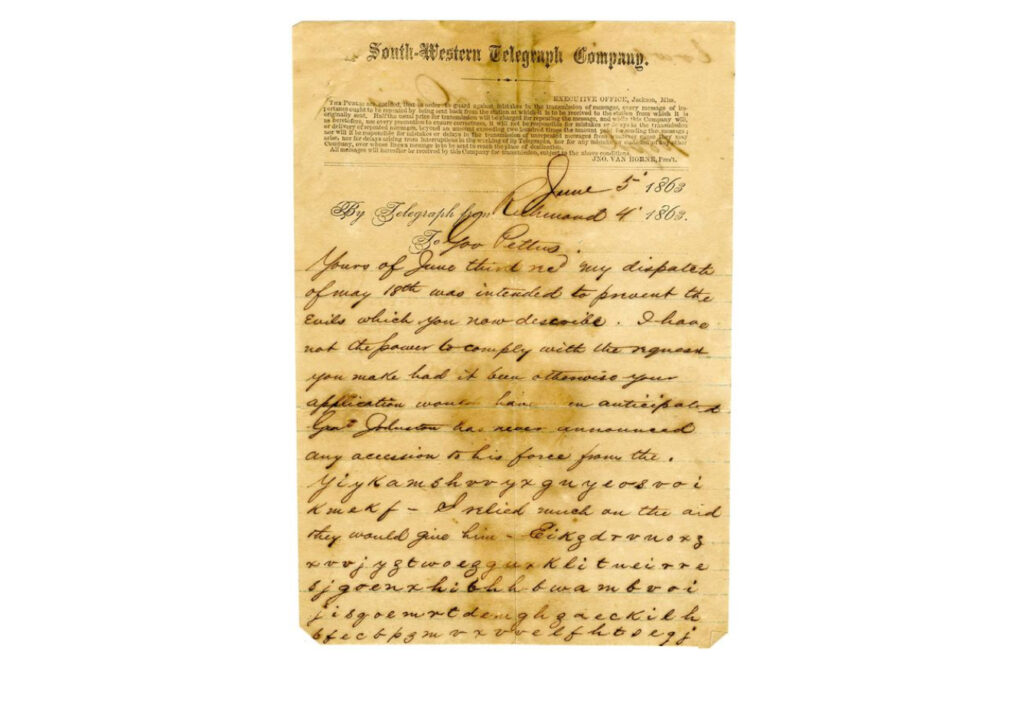
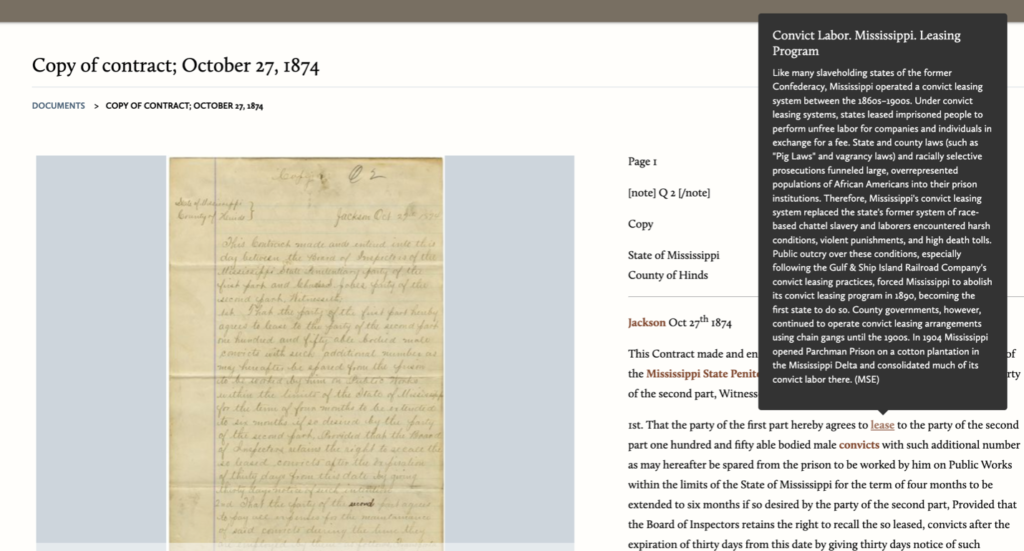
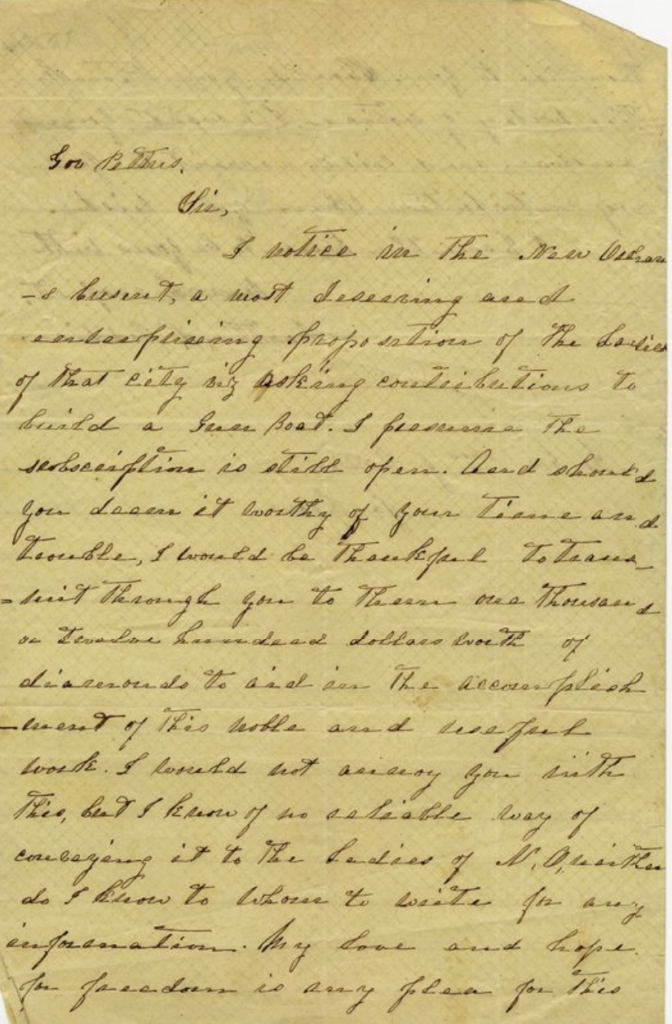
Role-playing games like Battle of the Brontës are undeniably fun, but their ability to pique curiosity also makes them powerful tools for active learning.[1] Inspired by this experience, I began investigating how gamification could enhance student engagement with the Civil War & Reconstruction Governors of Mississippi project (CWRGM). As a digital documentary edition of over 20,000 letters written to Mississippi’s governors during the Civil War and Reconstruction, CWRGM offers a wealth of primary sources to support student learning and research (see our educator resources here). Yet, access to accessible resources does not automatically translate into student interest. Gamification, however, could be the key to bridging that gap.
Designing educational role-playing games, nonetheless, is no easy task. To prepare, I surveyed existing literature on the representation of the Civil War in tabletop and video games, including Patrick Lewis and Trae Wellborn’s recently edited collection, Playing at War: Identity and Memory in Civil War Video Games. Their scholarship emphasized the importance of ensuring that Civil War games represent the agency of enslaved people and avoid perpetuating harmful narratives about slavery and African Americans, particularly those rooted in Lost Cause ideology.[2] I also explored the history of video games, game design theory, and gaming praxis and pedagogy. Unlike traditional assignments, scholars argue that games encourage active engagement and help students move beyond linear, teleological views of the past.[3] Play stimulates learning, according to Stephen Mallory, “by using the rules of the game to encourage deeper engagement, by appearing to challenge the existing cultural standards of schooling.”[4]
Yet, as enlightening as reading was, playing games proved equally important. In one of the most delightful tasks of my career, I set to work playing a series of educational games to help me determine which would best align with the CWRGM collection and our existing curriculum on emancipation while minimizing barriers to game creation, student access, and play.[5] Digital games like those available through Mission US, for instance, can immerse students in dynamic, simulated historical environments, but they are costly to develop, require advanced coding skills, and may be less accessible in schools with limited technological resources.[6] I also quickly ruled out designing a Reacting to the Past-style game. Although these games emphasize student agency—an element I plan to incorporate in the game we ultimately develop—they typically require large class sizes, cater to more advanced audiences, and assign each student a historical character.[7] Given our budget, development timeline, and the careful planning necessary to navigate the ethical complexities of assigning students roles as enslavers and enslaved people, this format was not a practical fit.
As I played a variety of games, I began to notice key patterns. Chance-based games like Battle of the Brontës, for example, stood out for their simplicity and lack of barriers to play. They are fun, easy to set up, involve minimal resources, and are not overly involved, but they also offer less educational depth. Thoughtful lesson planning, however, can help mitigate this issue. These games are excellent for exploring a single concept with students and conveying messages about the odds or difficulty of certain tasks. For example, game mechanics can help students understand how historical context shaped the odds of success, such as the overwhelming challenge of launching a successful slave revolt during the antebellum era. Importantly, they also offer newcomers to game development, like myself, an opportunity to explore game design, clarify the game’s central argument, and experiment with potential mechanics for a larger, more expansive game.

Consequently, I decided to begin by designing Brine & Blood: 7th Grade Edition, a simple one-page role-playing game built entirely around chance. Its development was a foundational step toward our larger goal of creating a game that incorporates student agency and primary source analysis. Integrating primary sources into future gameplay will deepen students’ understanding of how historical context shapes choice and narratives within specific environments. Games that present historical content, according to Dawn Spring, “illustrate not only how history informed environments, narratives, game play, mechanics, and strategies,” but also reveal that “primary source research can become these elements.”[8] For the time being, however, I had plenty to tackle just by considering the central argument our eventual game would convey.
Brine & Blood is a collaborative role-playing game designed to expose seventh-grade students to some of the advantages and disadvantages the Confederacy faced prosecuting the war as a slave society, and as such, it offers students a chance to understand how enslaved people impacted the war and emancipation in their own right. In the game, students take on the role of the Mississippi State Salt Works, which is tasked with producing enough salt to sustain both the Confederate war effort and local civilian needs. Their challenge lies in balancing production demands while navigating rising public unrest and the threat of defeat by Union forces. Students gain insight into the broader challenges the Confederacy faced, particularly its failure to foster a unified sense of nationalism in the face of Black resistance.
Building the game around salt production was a natural fit. My colleague, CWRGM Senior Assistant Editor Sarah West, suggested using the collection’s extensive array of salt-related letters because salt was a vital wartime resource that was essential for preserving food, especially meat, and for processing animal hides. Many games revolve around resource allocation, and salt could serve as a crucial nexus for exploring key challenges the Confederacy faced, including the production and transportation of war materials, the difficulties of supplying both troops and civilians, and the tensions between state and federal authority that exacerbated unrest on the home front. Significantly, this focus also highlights the Confederacy’s dependence on enslaved labor, revealing both the advantages it conferred and the inherent vulnerabilities it created. This opens the door to examining enslaved people’s agency during the war and the ways they exploited these vulnerabilities to resist and reshape their circumstances.
As such, games like Brine & Blood—just like historical monographs and articles—make arguments.[9] For Brine & Blood, the key argument became that emancipation was a process shaped by both enslaved people’s agency and the Confederacy’s structural weaknesses. While the game is entirely chance-based, its mechanics emphasize several key historical themes. The Confederacy relied heavily on enslaved people to perform essential labor for the war effort, including salt production. However, enslaved individuals’ acts of self-emancipation, which increased as Union forces advanced deeper into the South, made this task increasingly difficult and hurt Confederate morale. Furthermore, the Confederacy’s efforts to exert centralized power—such as impressing enslaved laborers to work in the salt mines—undermined white Southerners’ commitment to the Confederate cause, further exposing cracks in Confederate nationalism.[10]

As a streamlined, one-page, chance-based game, however, the seventh-grade edition of Brine & Blood will not introduce students to these key historical themes without post-game discussion and reflection (see the corresponding freely available lesson plan and game here). After the game, the class gathers to reflect on their experiences, beginning with a quick poll to determine which groups won or lost. Students then explore why they succeeded or failed, considering what advantages and disadvantages shaped the Confederate or Union war effort. The conversation incorporates real historical conditions by assigning primary and secondary source reading, which helps students draw connections between the game’s mechanics and their effect on the lived experiences of Mississippians during the Civil War.
To deepen their understanding, students engage with additional readings and videos about the Confederacy’s reliance on enslaved labor, acts of resistance by enslaved people, and the impact of resource shortages and Confederate policy on morale. They analyze primary sources from the Civil War & Reconstruction Governors of Mississippi (CWRGM) collection by selecting one letter from a curated list of seven documents related to salt production and the Confederate war effort. In a written response, students then reflect on one idea they learned from the game and evaluate how accurately or inaccurately it was represented in Brine & Blood, citing evidence from their CWRGM primary source and outside readings.
Their responses may explore several cause-and-effect themes, such as how slavery provided a critical labor advantage for the Confederacy, but this advantage weakened as enslaved people self-emancipated, especially with the arrival of Union troops. Others might discuss how Confederate attempts to impress enslaved laborers for the war effort sparked resentment among white Confederates who wanted to maintain control over enslaved populations. Students might also analyze how enslaved people resisted by slowing work, breaking tools, escaping, or seeking freedom and examine how these acts of defiance, combined with the presence of Union forces, contributed to the Confederacy’s defeat. Others may reflect on the impact of resource access—such as inflation, blockade runners, and poverty—on public morale, highlighting the growing divisions and hardships that shaped pro-Confederate and pro-Union sentiment in Mississippi. This post-game work reinforces the historical lessons embedded in the game and strengthens students’ ability to connect primary sources to broader historical narratives.
By blending gameplay, discussion, and historical analysis, this lesson plan encourages students to connect the past to broader historical narratives while developing essential critical thinking and interpretive skills. While we plan to expand the concepts introduced in the 7th-grade version of Brine & Blood into a more interactive game that directly integrates primary sources into the gameplay, designing a small-scale game allowed me to explore key themes, experiment with game mechanics, and brainstorm ideas for future development. In the process, I learned that games can be powerful tools for helping students understand how historical context shaped the choices available to different groups of people. By simulating the pressures and constraints of life during the Civil War, Brine & Blood encourages students to engage with history in an active, immersive way, allowing them to grasp how agency, causation, and historical outcomes were deeply intertwined.
[1] See Mark C. Carnes, “Reacting to the Past” Pedagogy Manual (New York: Priscilla McGeehon, 2005); Jeffrey Lawler and Sean Smith, “Creating a Playable History: Digital Games, Historical Skills and Learning,” IDEAH, 2, no. 1 (2021), https://doi.org/10.21428/f1f23564.22225218; and Stephen Mallory, “Playing as People: Critical Pedagogy and Historical Role Immersion Games,” Visual Arts Research 49, no. 2 (2023): 102-114, https://muse.jhu.edu/article/911918.
[2] Patrick Lewis and James Hill Welborn III, eds, Playing at War: Identity and Memory in Civil War Video Games (Baton Rouge: Louisiana State University Press, 2024.
[3] Lawler and Smith, “Creating a Playable History.”
[4] Stephen Mallory, “Playing as People: Critical Pedagogy and Historical Role Immersion Games,” Visual Arts Research 49, no. 2 (2023): 102-114, https://muse.jhu.edu/article/911918.
[5] I played a series of one page RPGs by Oliver Darkshire, student-created Twine games from Critical Play, Reacting to the Past, Mission US’ interactive digital narrative games, and Nations & Cannon, among others.
[6] Jos´e Carlos Pi ˜nero Charlo, Mar´ıa Teresa Costado Dios, Enrique Carmona Medeiro, Fernando Lloret, eds, “PrefacetoTrends on Educational Gamification: Challenges and Learning Opportunities,” Education Sciences (March 2022), https://doi.org/10.3390/books978-3-0365-3539-5.
[7] See Carnes, “Reacting to the Past” Pedagogy Manual.
[8] Dawn Spring, “Gaming History: Computer and Video Games as Historical Scholarship,” Rethinking History 19, no. 2 (2015): 207–221. http://dx.doi.org/10.1080/13642529.2014.973714.
[9] Spring, “Gaming History.”
[10] See Stephanie McCurry, Confederate Reckoning: Power and Politics in the Civil War South (Cambridge: Harvard University Press, 2012).


